How to Use Tables
Create, Table TABs, QR Code
Last Updated:What's in this article?
- Create Tables
- Adding a background Picture to a room
- Get a table QR Code to Order from table/bar
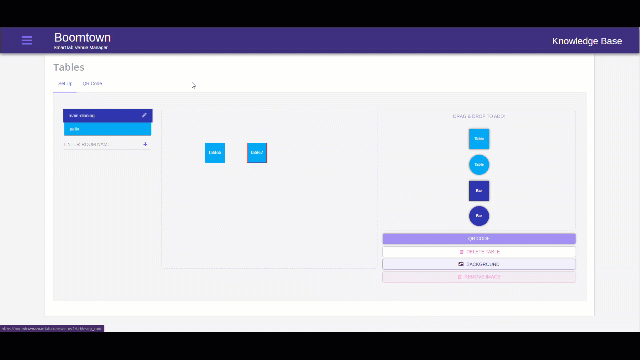
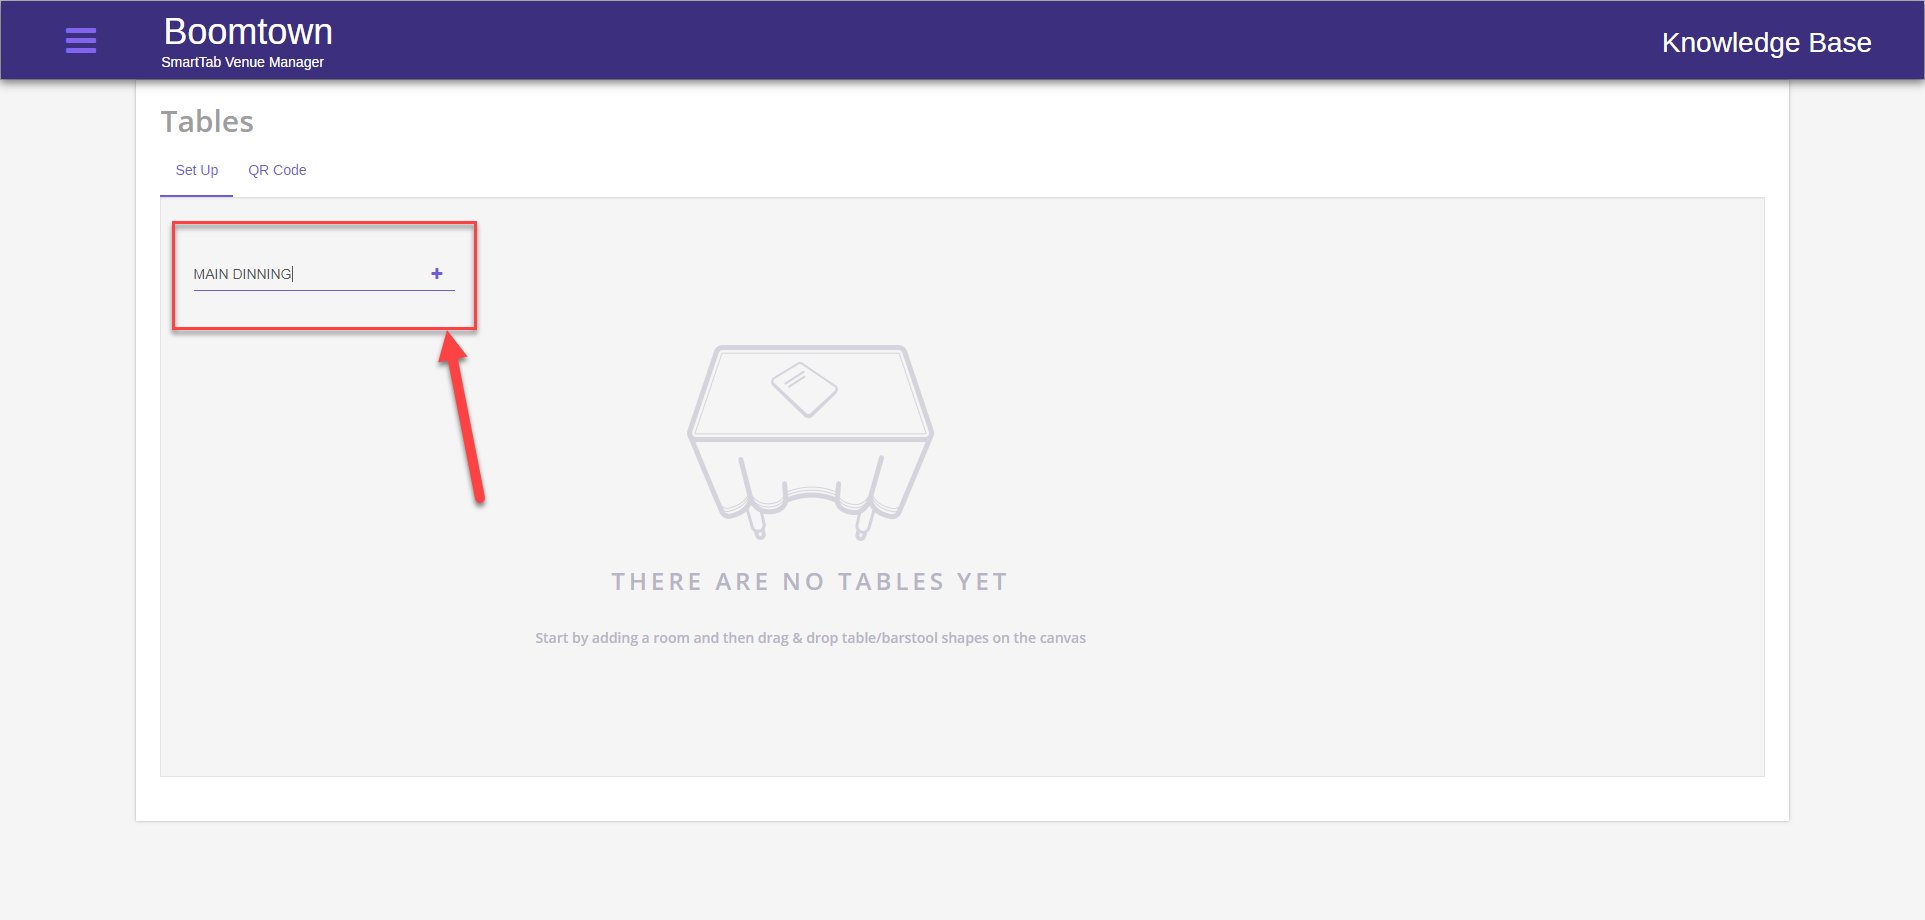
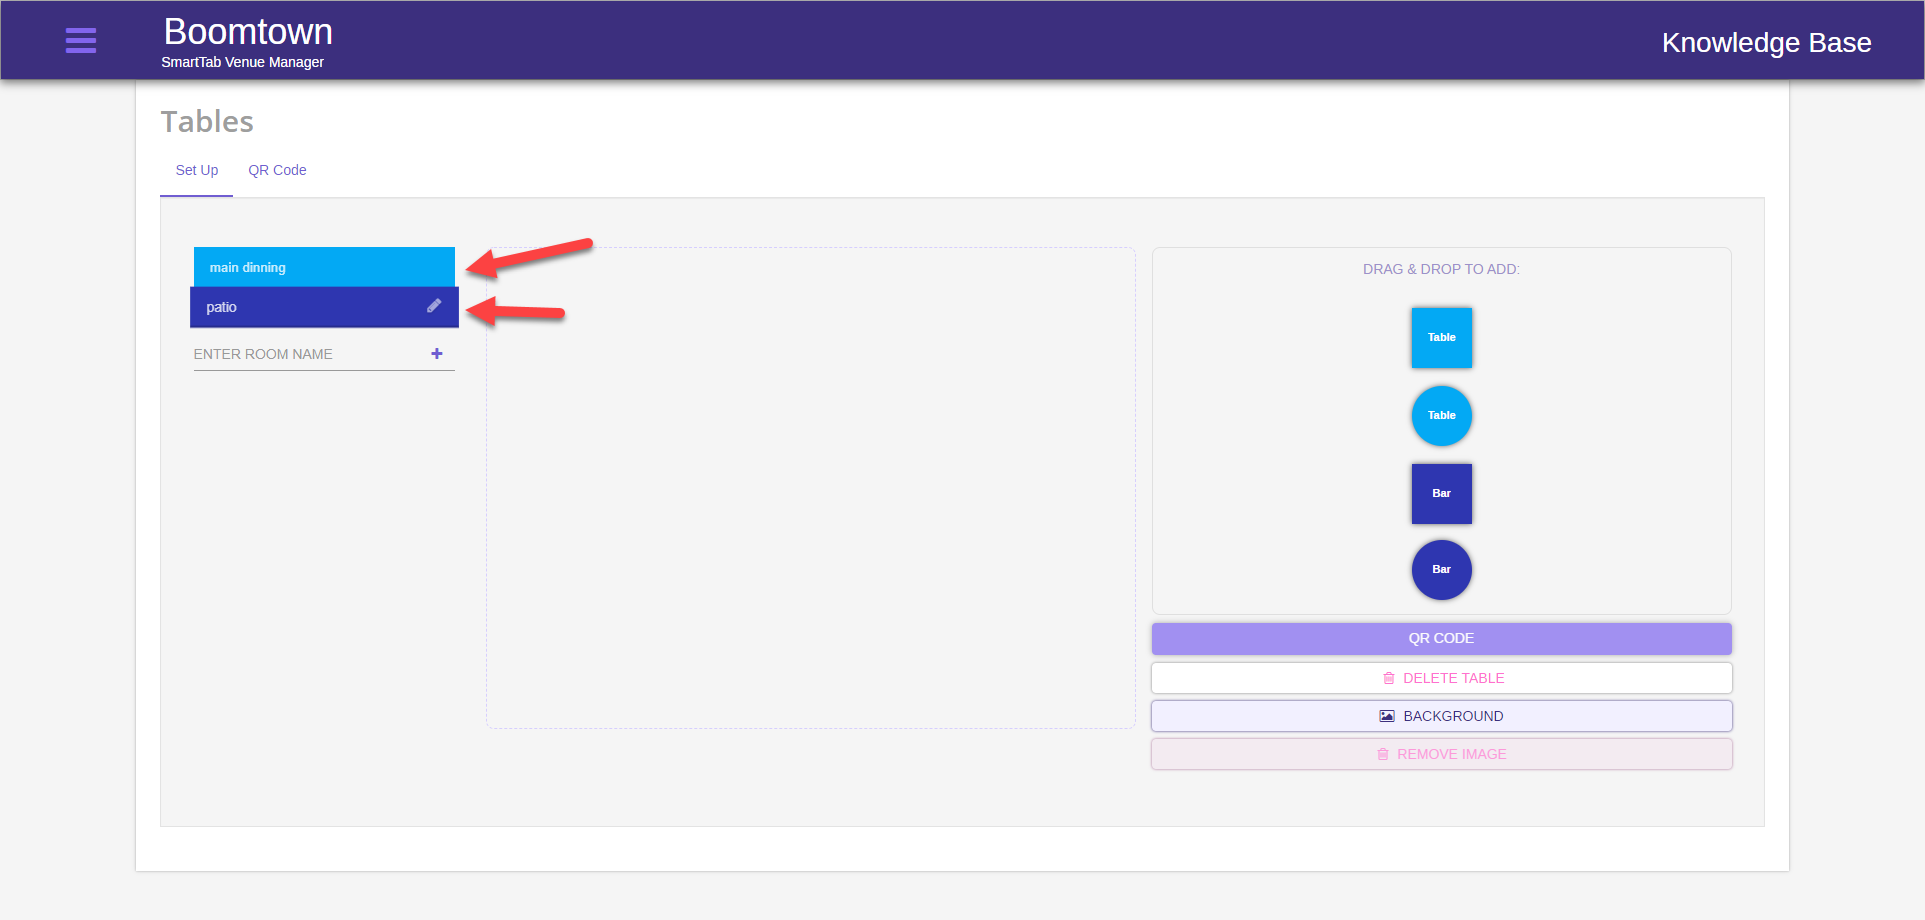
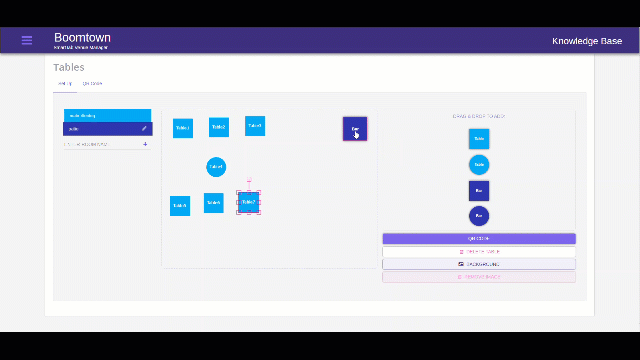
- Log into the Back-end Portal (URL varies by merchant)
- Select the Hamburger menu on the top-left

- Select Tables
- You can now use these tables/bars to create and assign TABs on the POS
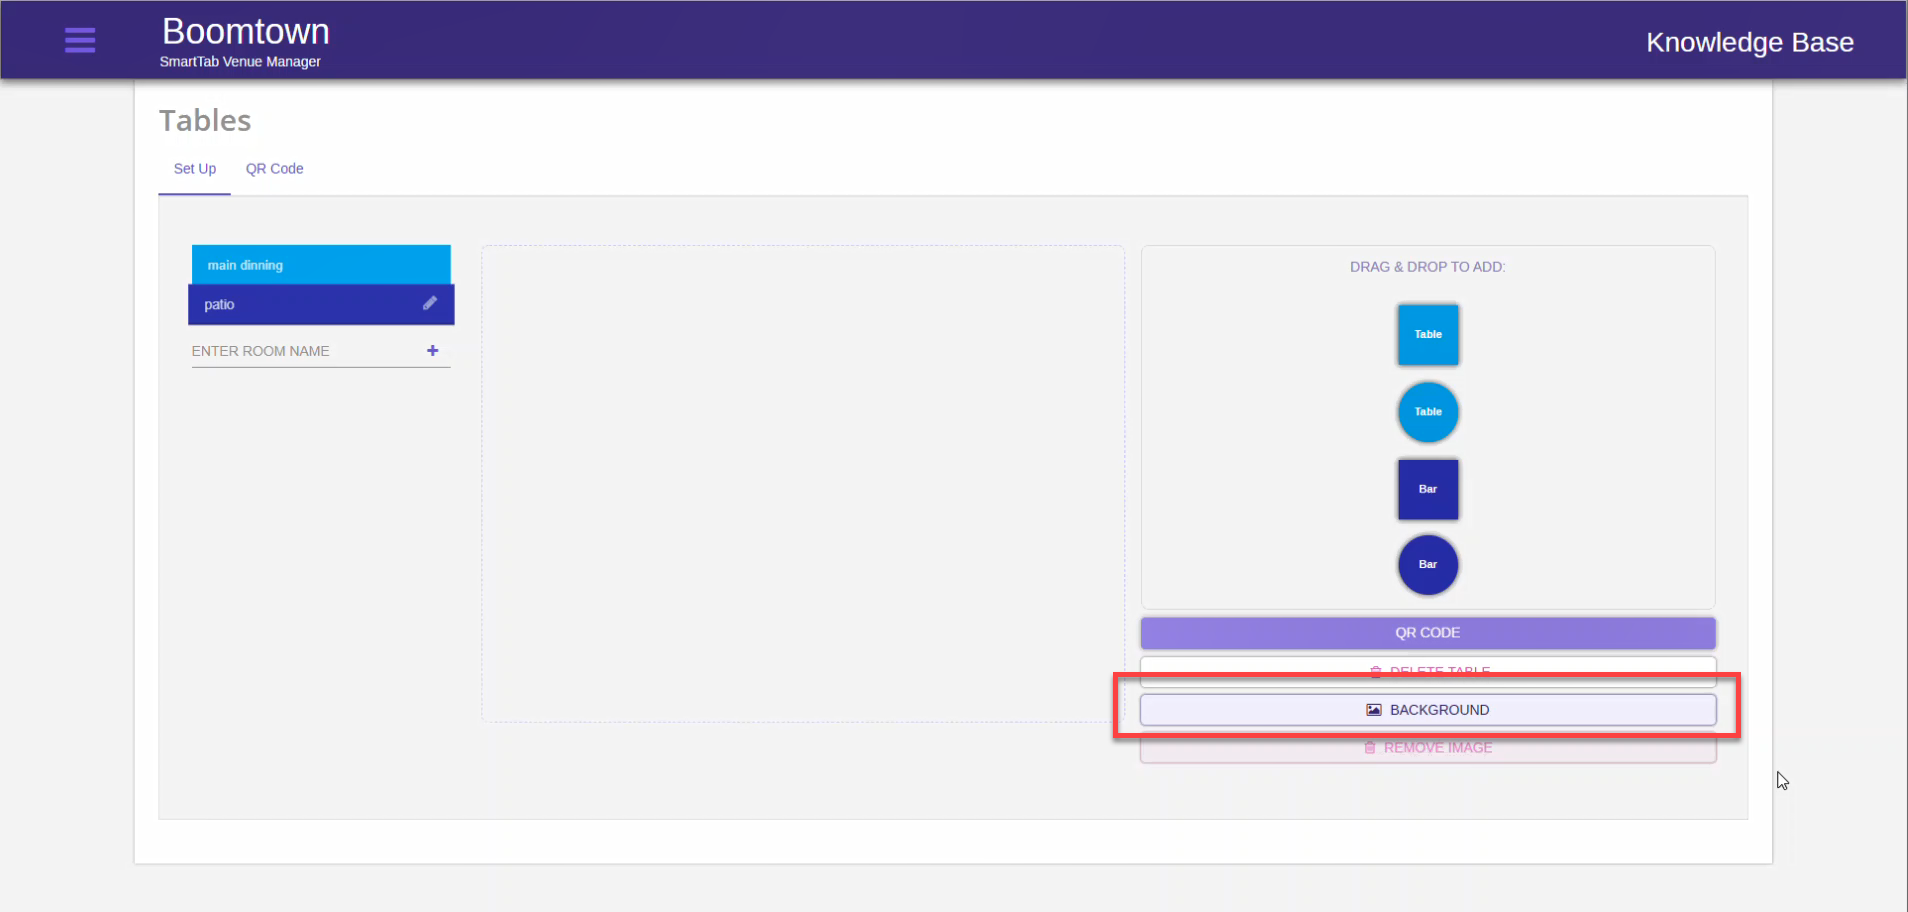
You can add a background to your Room layouts to improve the look of the room. If you have an overhead shot of your room this can make it easier to arrange the tables
- Log into the Back-end Portal (URL varies by merchant)
- Select the Hamburger menu on the top-left
- Select Tables
Prerequisite: In order to Get a QR Code for table ordering you must first have a Room with Tables in it
There are 2 options for getting Ordering QR Codes for tables/bars. Select your option below:
- Generate from Individual Table/Bar
- Generate Multiple Table/Bar QR Codes
- Log into the Back-end Portal (URL varies by merchant)
- Select the Hamburger menu on the top-left
- Select Tables
- Select the room for which you wish to get the QR Code
- Select the Table/Bar for which you want the QR Code
- Click the QR Code button
- A QR Code will generate
- You can now print or download the QR Code for that table
- Log into the Back-end Portal (URL varies by merchant)
- Select the Hamburger menu on the top-left
- Select Tables
- Select QR Code from the Top
- Generate or assign QR Code
- To assign a QR Code
- Select ASSIGN next to a QR Code
- Select the table/Bar from the drop-down
- Click outside of the QR Code dialogue to exit
- To Generate QR Codes
- Select CREATE IN BULK
- Select CREATE next to "Create QR Codes for all tables without QR Code" or "Create QR Codes for all tables"
- The QR Codes will generate
- To assign a QR Code
- You can print or download the QR Code for All Tables/Bars